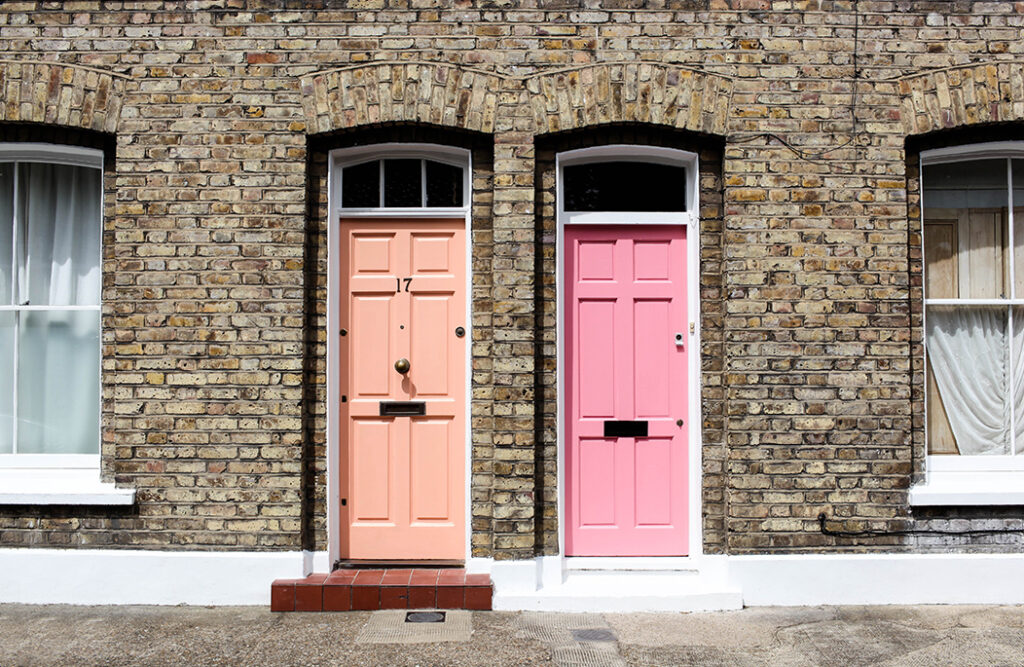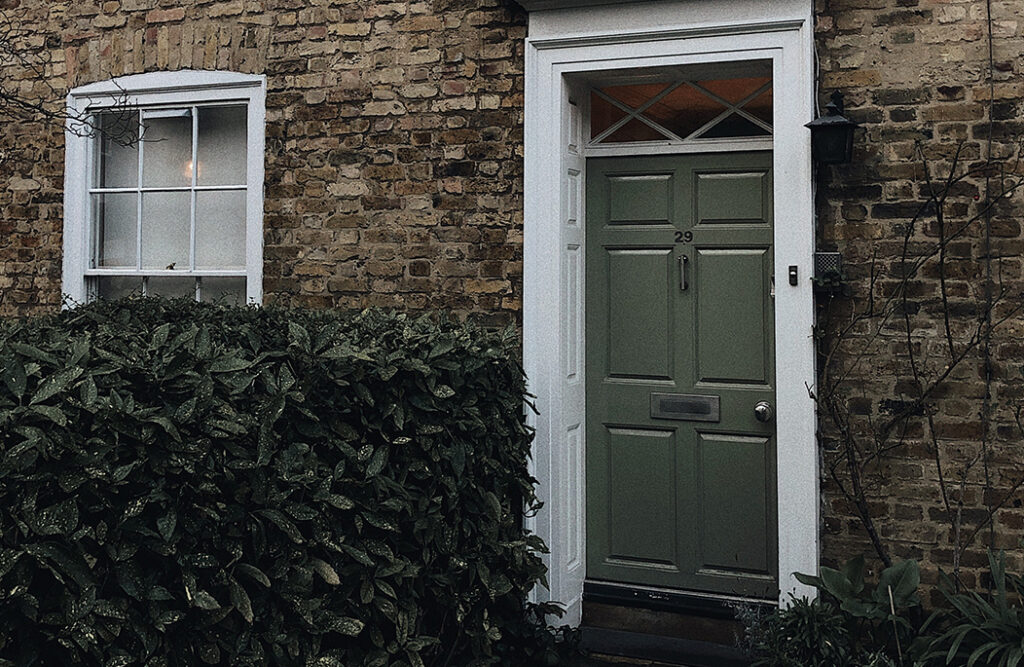
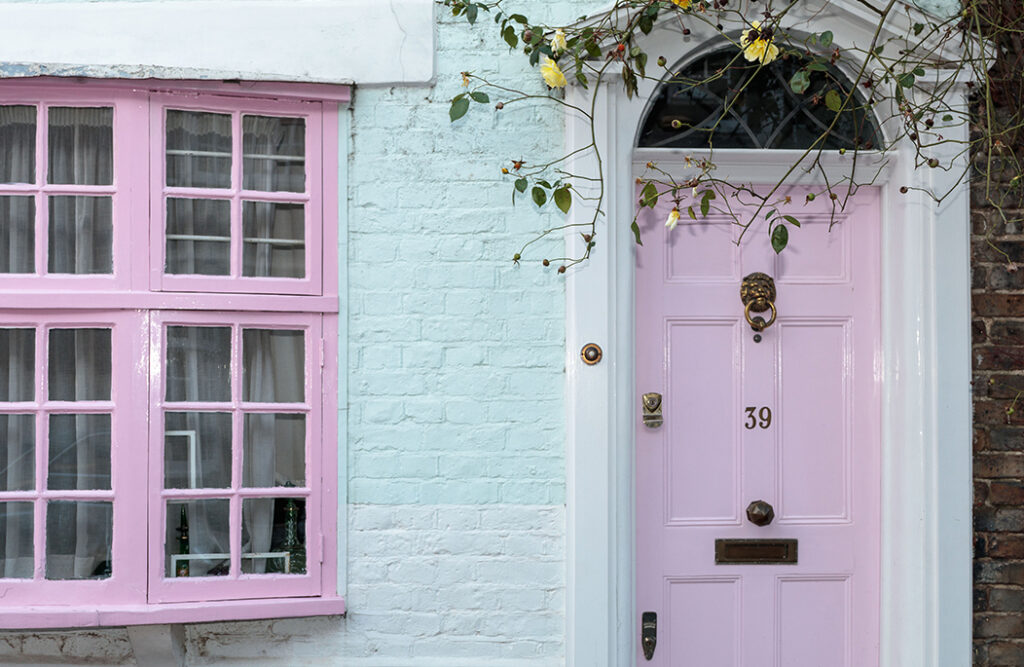
If your Victorian home is looking a little tired after a long hard winter you may find a new lick of paint on your front door could give it just the lift you are looking for.
But how do you go about tackling this DIY job? The Victorian home renovation experts at Adrian Flux provide a 8-point guide to painting your front door.

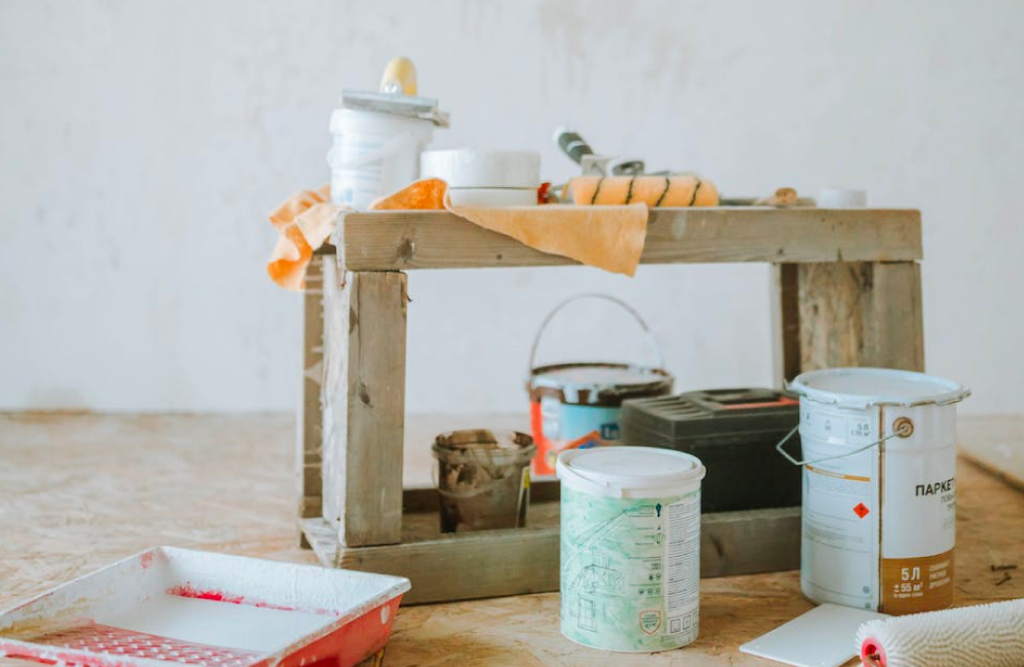
1. Check the weather forecast before you paint
Choose a day when you don’t need to go out so the door can be left open after applying each layer of paint. Start early so you can be sure the paint is fully dried before you go to bed. Avoid painting on a very hot, very cold or wet day. Ideally, the weather should be between 10ºC and 25ºC with no rain forecast for at least 24 hours.
2. Remove and clean door furniture before you begin painting
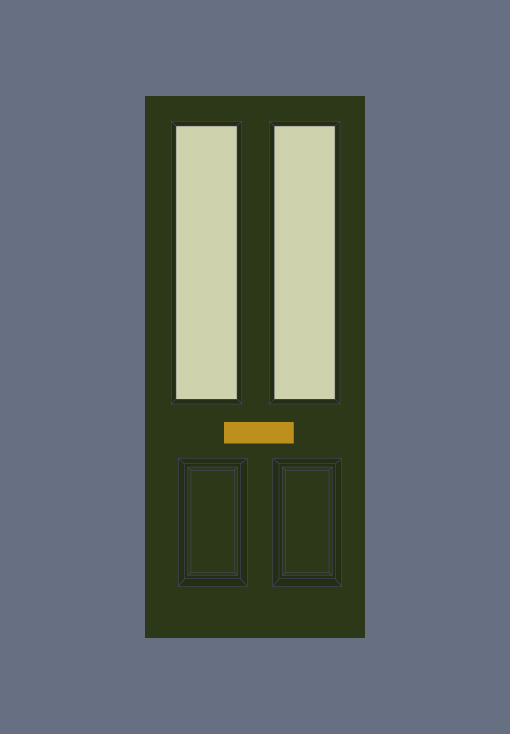
If possible, remove any fixtures or door furniture including the letter box and door knocker. If these are the original Victorian features, they can be polished and restored, if not, now could be the time to change them to replica fixtures or old furniture sourced at an antique shop or online. Traditionally, Victorian door furniture was black or brass.
3. Beware led paint and consider chemical stripping
Be careful if you are removing paint that predates the early 1970s as it could contain lead. Consider having your door chemically stripped by professionals or use a paint remover product which is specifically designed for old paintwork. Peel-away strippers are also great at taking paint off carving or panelling.
Read this blog to find out why lead paint is dangerous and how best to get rid of it.
4. Sand away paint residue and fill any holes
Once stripped of old paint, sand the door lightly to remove any residues of paint and stripping product and then fill holes or knocks with a filler that matches the wood of your door. On larger holes, build up layers of filler and ensure they dry before moving on to the next stage. Sand again so that the door is smooth.
5. Use wood preservative to extend the life of your paint-job
A wood preservative can prolong the life of your door if applied before undercoat or primer. Be aware that solvent-based preservatives can take several days to dry thoroughly – the solvents must evaporate fully before you paint, so ensure you stick to the recommended drying time.
6. Prime, undercoat and overcoat your door
Use a coat of exterior wood primer and an undercoat product and prime the whole door, one section at a time. If you have a panelled door, paint the corner beadings of the panels first and then return to paint each flat panel. Once the panels are complete, paint the rails (the horizontal parts of the frame) and lastly the stiles (the vertical parts of the frame). Allow at least four hours for the undercoat to dry, keeping the door open.
7. Use a roller and brush for the best door finish
Choose a weatherproof paint with a flexible finish and use a two inch synthetic paint brush with a three inch roller to paint any flat panels. Roll with the grain of the wood and work from the top to the bottom.
8. Contrast gloss and eggshell finishes for added interest
Window boxes should be the same colour as your front door – for added interest, use a different paint finish such as gloss on the door and eggshell on the boxes.
Read this blog for more ideas on how to make a great first impression with your authentic Victorian home.